
You just paid for a service, and now your aircon is dripping water onto the floor. This is one of the most common complaints among Singapore homeowners right after a technician leaves. It feels like a step backward, but in most cases, the cause is simple and fixable.
This guide breaks down exactly why your air conditioner leaks water after a service call. We cover HDB flats, condominiums, and landed properties, since the causes and fixes are largely the same across all three. By the end, you will know what to check yourself and when to call in a professional.
Problem: Why Does My Aircon Leak Water Right After Servicing?
A leaking aircon after service usually points to one of a few specific issues. The technician may have disturbed something during cleaning, or an existing problem only became visible once the unit was switched back on. Either way, the water has to be coming from somewhere inside the fan coil unit (FCU) or the outdoor condenser.
Below is a quick diagnostic table to help you narrow down the cause before calling anyone back.
| Symptom | Likely Cause | Urgency |
| Dripping from indoor unit within hours of service | Drain pipe not reconnected properly | High |
| Water pooling near outdoor compressor | Condensation from normal operation | Low |
| Leak worsens when aircon runs longer | Clogged drain pipe (jelly slime buildup) | Medium |
| Water mixed with dust or debris | Loose drainage tray after chemical wash | Medium |
| Leak only during rainy weather | Poor bracket installation allowing rain ingress | Medium |
| Musty smell with the leak | Mold growth inside drain pan | Medium |
| Leak paired with warm air blowing | Low refrigerant causing ice buildup that melts | High |
Match your symptoms to the table above. This will help you describe the issue accurately when you call your servicing company back.
Learn: How to fix aircon leaking water
Common Signs Singapore Homeowners Should Watch For
Singapore’s humidity means your aircon works harder than units in drier climates. This constant workload makes drainage issues far more common here than in temperate countries.
- Water stains spreading across your ceiling below the FCU
- A steady drip sound from the indoor unit casing
- Damp patches on the wall near the air conditioner
- Visible water pooling on the floor beneath the unit
If you notice any of these signs within 24 to 48 hours of a service, do not ignore it. Early action prevents costlier damage to your ceiling, flooring, or furniture.
Technical Breakdown: What’s Actually Causing the Leak
Understanding the root cause helps you communicate clearly with your technician. It also helps you avoid the same issue after your next service.
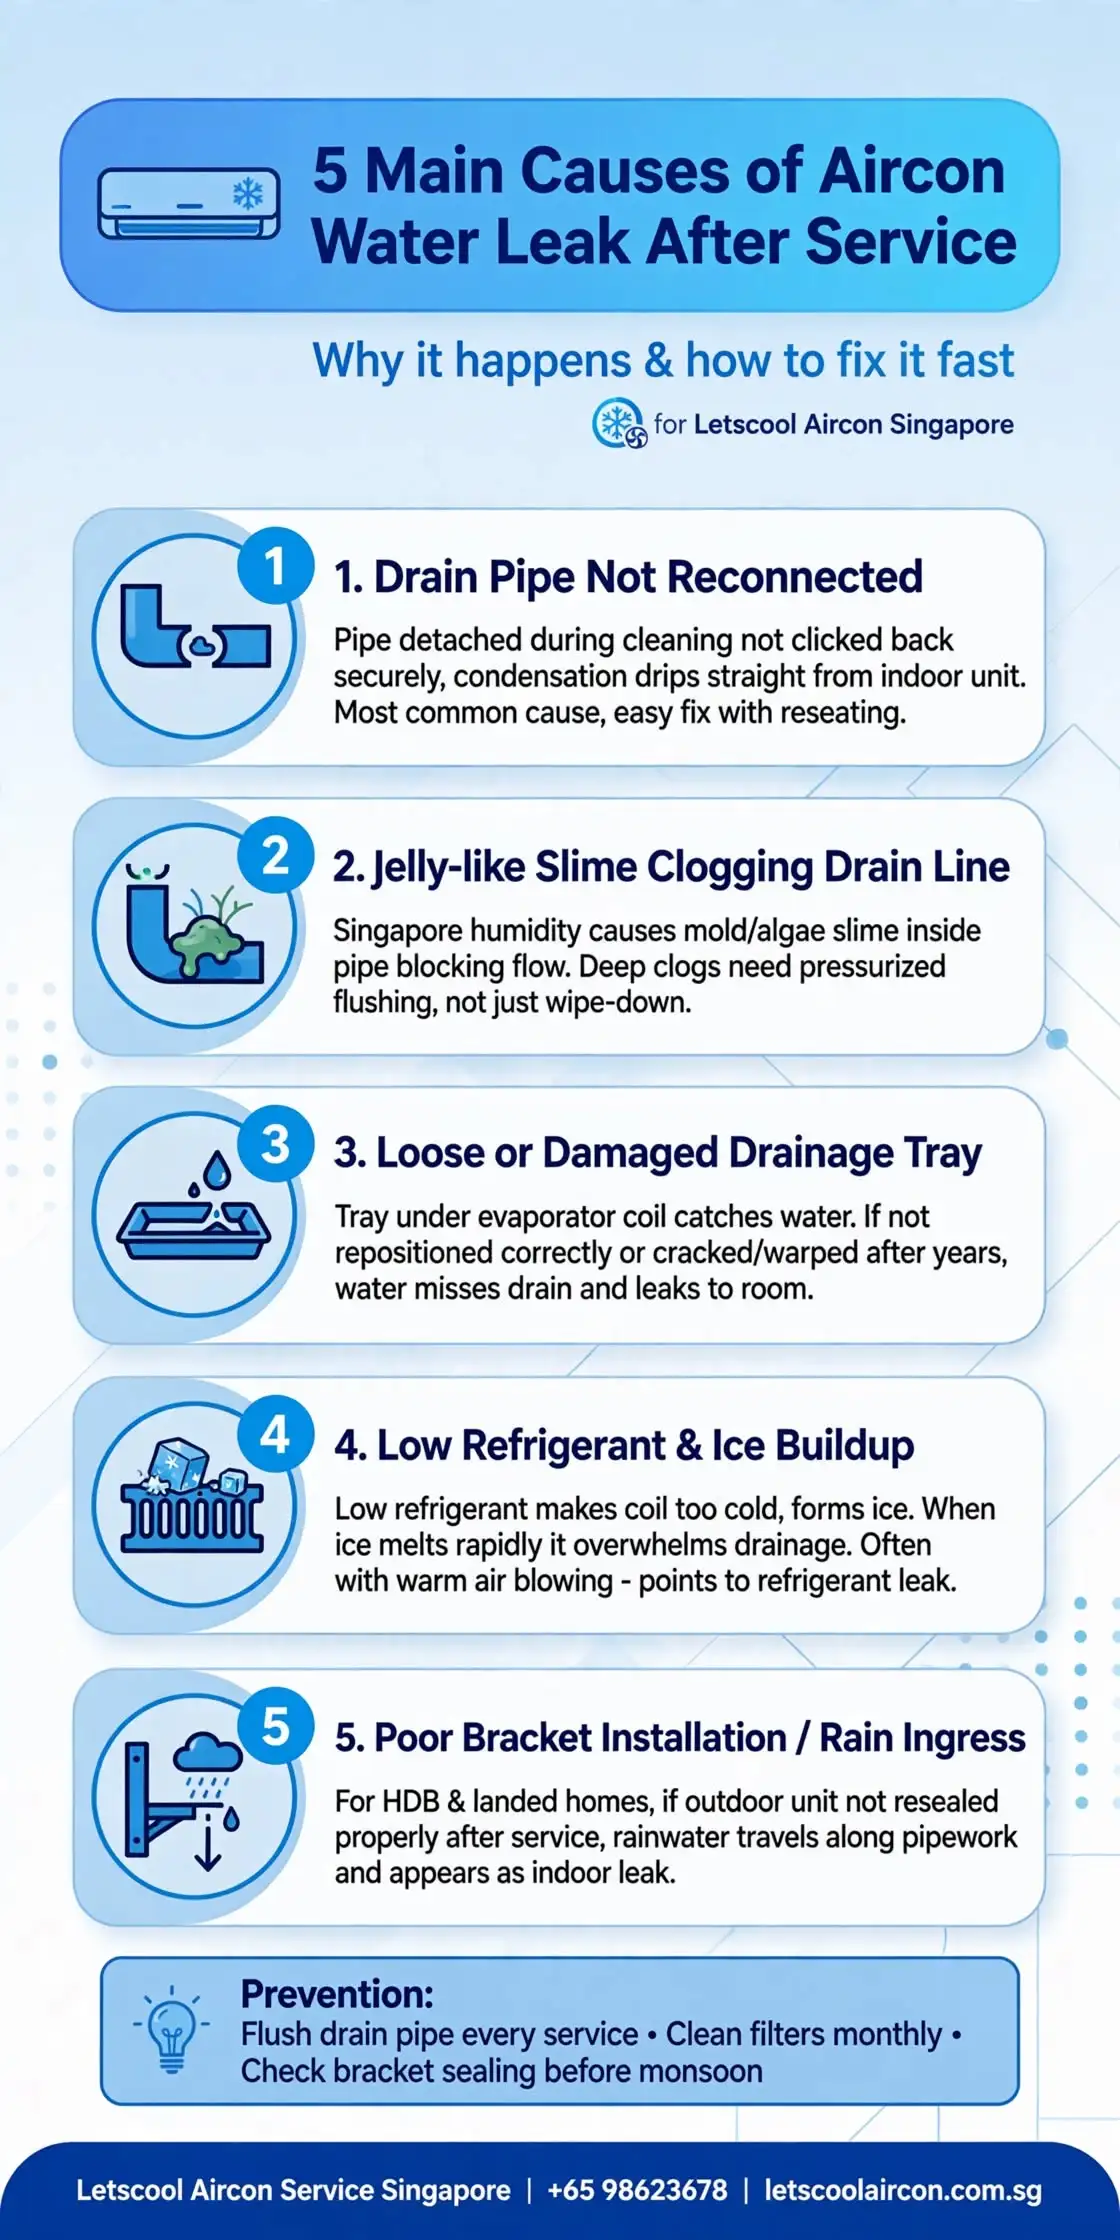
1. The Drain Pipe Was Not Reconnected Correctly
During servicing, technicians often detach the drain pipe to clean the fan coil unit thoroughly. If it is not clicked back into place securely, condensation water bypasses the pipe entirely. This water then drips straight down through the indoor unit casing instead of draining outside.
This is the single most common cause of leaks reported right after a service appointment. It is also the easiest to fix, usually requiring nothing more than a follow-up visit to reseat the pipe.
2. Jelly-Like Slime Clogging the Drain Line
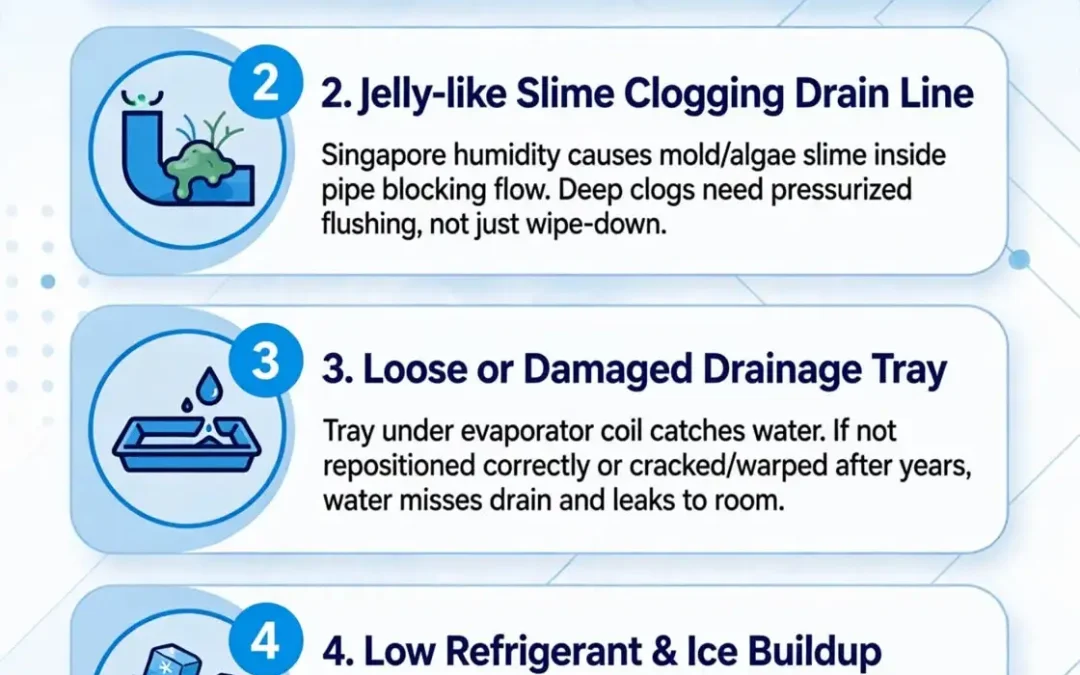
Singapore’s high humidity creates ideal conditions for mold and algae to grow inside aircon drain pipes. Over time, this buildup forms a gel-like slime that partially or fully blocks the pipe. Water then backs up and overflows into the unit instead of draining away.
A proper service should clear this slime, but if the blockage sits deep inside the pipe, a quick wipe-down may not reach it. This is why leaks sometimes appear again within days of a service that missed the deeper clog.
3. Loose or Damaged Drainage Tray
The drainage tray sits beneath the evaporator coil to catch condensation before it flows into the drain pipe. During a chemical wash, this tray is often removed for a thorough clean. If it is not repositioned correctly, water misses the pipe opening and leaks directly into the room.
Cracked or warped trays from years of wear can also cause this issue, independent of the recent service. A technician should inspect the tray’s condition, not just its position, during every visit.
4. Low Refrigerant Causing Ice Buildup
If your refrigerant level is low, the evaporator coil can become too cold and form ice. Once you turn the aircon off, or the compressor cycles down, this ice melts rapidly. The sudden meltwater overwhelms the drainage system and leaks out.
This cause is more serious because it points to a refrigerant leak in the system, not just poor drainage. You will usually notice warm air blowing alongside the water leak if this is the underlying issue.
5. Poor Bracket Installation or Rain Ingress
For HDB flats and landed properties with external-facing compressor units, bracket installation quality matters. If the outdoor unit was not resealed properly after service, rainwater can enter through gaps. This water then travels along pipework and appears as an indoor leak during wet weather.
HDB guidelines require compressor brackets to be installed with proper support and sealing against the external wall. A poorly resealed unit after maintenance work can compromise this seal.
Solution: Step-by-Step Fixes You Can Try First
Before calling for another service visit, there are a few checks any homeowner can safely perform. These steps take less than 15 minutes and often resolve minor post-service leaks.
Step 1: Check the Drain Pipe Connection Locate where the drain pipe exits the indoor unit and trace it to the outdoor discharge point. Look for any visible disconnection or kinking along the visible sections. A dislodged pipe near the unit is often visible without opening any panels.
Step 2: Inspect the Drain Outlet Outside Walk outside or to your service yard and check where the drain pipe discharges water. If no water is coming out at all despite the indoor unit leaking, the pipe is likely blocked. This confirms a clog rather than a disconnection issue.
Step 3: Clean the Air Filter A dirty air filter restricts airflow across the coil, which can cause excess condensation and ice formation. Remove the filter, rinse it with water, and let it dry fully before reinserting. This is standard maintenance you can do monthly without professional help.
Step 4: Check for Visible Ice on the Coil Turn off the unit and check if the evaporator coil, usually behind the front panel, has any frost or ice. If you see ice, this points to airflow or refrigerant issues rather than a simple drainage problem. Do not attempt to chip off ice, as this can damage the coil fins.
Step 5: Note the Timing and Pattern of the Leak Record when the leak happens: right after switching on, only during rain, or continuously. This pattern is valuable information for your technician and speeds up diagnosis on the next visit.
Preventive Maintenance to Avoid Repeat Leaks
Once the immediate leak is resolved, prevention is far cheaper than repeated repairs. Singapore’s climate demands a more frequent maintenance schedule than most manufacturer guides assume.
- Schedule chemical washes every 6 to 8 months depending on usage intensity
- Request drain pipe flushing specifically, not just coil cleaning, during every service
- Keep the outdoor unit clear of leaves, dust, and debris that block airflow
- Ask your technician to check bracket sealing annually, especially before monsoon season
- Replace air filters or clean them monthly if you run the aircon daily
These habits significantly reduce the odds of post-service leaks recurring. They also extend the lifespan of your compressor and fan coil unit.
Why Proper Servicing Matters More in Singapore’s Climate
Singapore’s year-round humidity and heat put continuous strain on aircon drainage systems in a way that temperate countries rarely experience. A service that only wipes surface dust without flushing the drain line leaves the underlying slime problem untouched. This is why choosing a team that follows a thorough process matters more here than almost anywhere else.
A proper aircon chemical wash service goes beyond a quick filter rinse. It involves dismantling the fan coil unit, flushing the drain pipe with pressurized water, and confirming the drainage tray sits correctly before reassembly. If your last service skipped these steps, a leak shortly after is almost expected rather than surprising.
Homeowners in HDB flats especially should confirm their servicing team understands HDB bracket and installation guidelines. Improper reinstallation after a service, even a minor misalignment, can lead to both leaks and safety concerns for outdoor compressor units mounted several floors up.
Electricity Bill Impact & NEA Energy Efficiency Tips
A leaking aircon is not just a mess on your floor. It usually signals inefficiency that shows up directly on your monthly electricity bill.
How Leaks Connect to Higher Electricity Costs
When drainage is blocked or refrigerant is low, your compressor works harder to reach the set temperature. This extra strain increases power consumption significantly over a billing cycle. A unit stuck in this state for even two weeks can add a noticeable amount to your next electricity bill.
Ice buildup on the coil, one of the causes discussed earlier, is particularly costly. Ice acts as an insulator, forcing the compressor to run longer for the same cooling output. This is inefficient and accelerates wear on the compressor itself.
Checking Your Aircon’s NEA Energy Efficiency Rating
NEA’s tick rating system, part of the Mandatory Energy Labelling Scheme, rates air conditioners from 1 to 5 ticks based on efficiency. A 5-tick unit consumes noticeably less power than a 1-tick unit for the same cooling capacity. If your unit is older and unrated, or rated low, addressing leaks and inefficiencies matters even more for your monthly costs.
You can check your unit’s current tick rating on the NEA website using its model number. This helps you decide whether ongoing repairs still make financial sense or if replacement is the better long-term option.
Quick Energy-Saving Tips for Air conditioner
- Set your thermostat to 24–25°C instead of the lowest setting for balanced comfort and savings
- Use the timer function to avoid running the aircon during unoccupied hours
- Ensure doors and windows are sealed to prevent cool air loss
- Service your unit regularly to keep the compressor running efficiently
- Consider upgrading to an R32 refrigerant model, which is both more efficient and more environmentally friendly than older R22 systems
Combining these habits with a properly functioning drainage system keeps both your comfort and your electricity bill in check.